Veruna PSA / Animated Explainer Video
incl. Making-of / Case study
(30 sec)
Client´s brief / brand guidelines & VO (by Joey Korenman) provided by SoM
Concept idea / art direction / storyboard / design / illustration / animation by Alena Hovorkova
Photoshop, Illustrator, Animate, Storyboarder, Cinema4d, Premiere Pro, After Effects
incl. Making-of / Case study
(30 sec)
Client´s brief / brand guidelines & VO (by Joey Korenman) provided by SoM
Concept idea / art direction / storyboard / design / illustration / animation by Alena Hovorkova
Photoshop, Illustrator, Animate, Storyboarder, Cinema4d, Premiere Pro, After Effects
Final video / loading may take some time
Created as a part of School of Motion Explainer Camp, taught by Jake Bartlett
Making-of / Case Study
Client & client´s brief
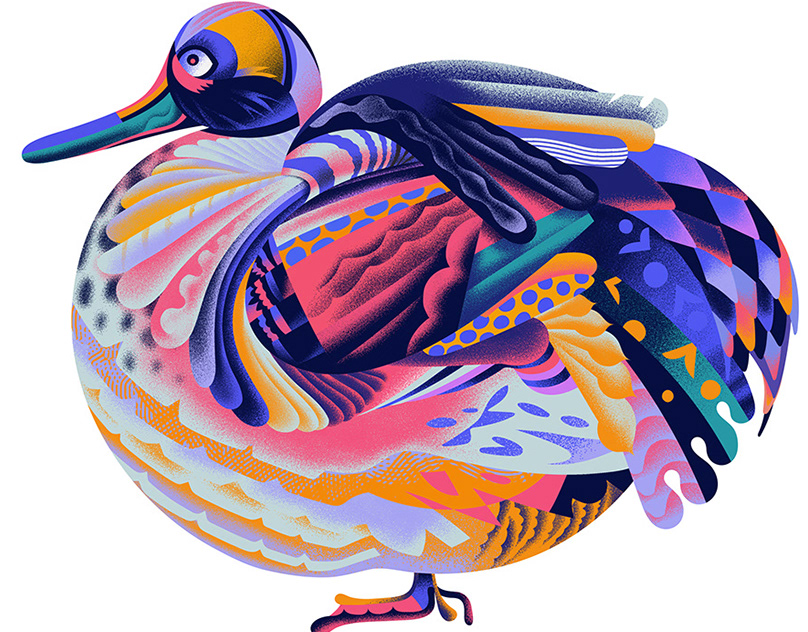
Veruna H2O - a non-profit company - that is building water-cleaning/filtering technologies.
Brief: to illustrate the extent of global water crisis / limited clean water accessibility in the world -
and ´Call to Action´ / bringing the viewer to client´s website - for a chance to help/donate.


1st step - Research
As both the topic and the company /technologies they are using/ are pretty technical,
I had to do some basic research first - to get the idea of ´what it´s all about´ (at least at the level I could understand) - to be able to ´distill´ all that pretty technical and complex subject matter into something a bit more simple and - more ´digestible´ - for the non-technical public audience.
Some basic technical documentation was provided by the client, some other - more general info - needed to be researched (and design ideas tested) on my own.
But - as there was no requirement to exactly show the technology / how exactly it works -
I decided for a bit more ´abstract´ approach, in the end, to keep it as simple as possible ...
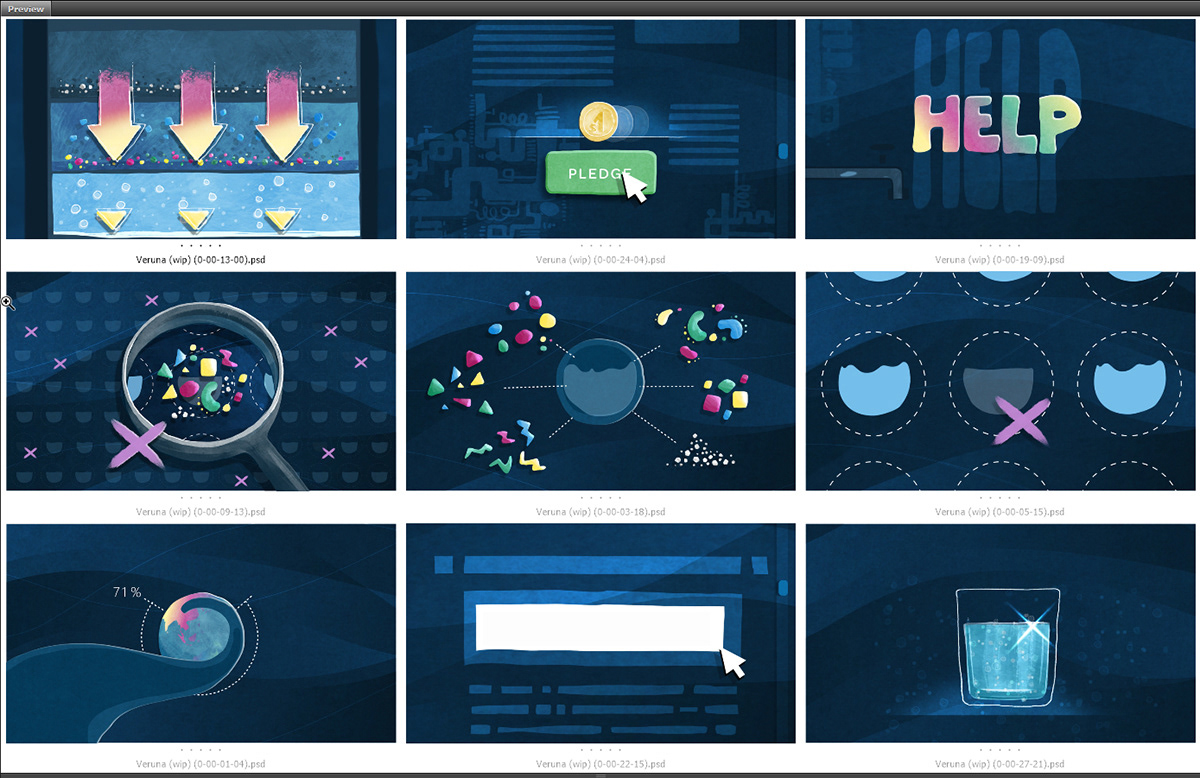
Storyboard
.. first rough concept idea(s) .. visualized


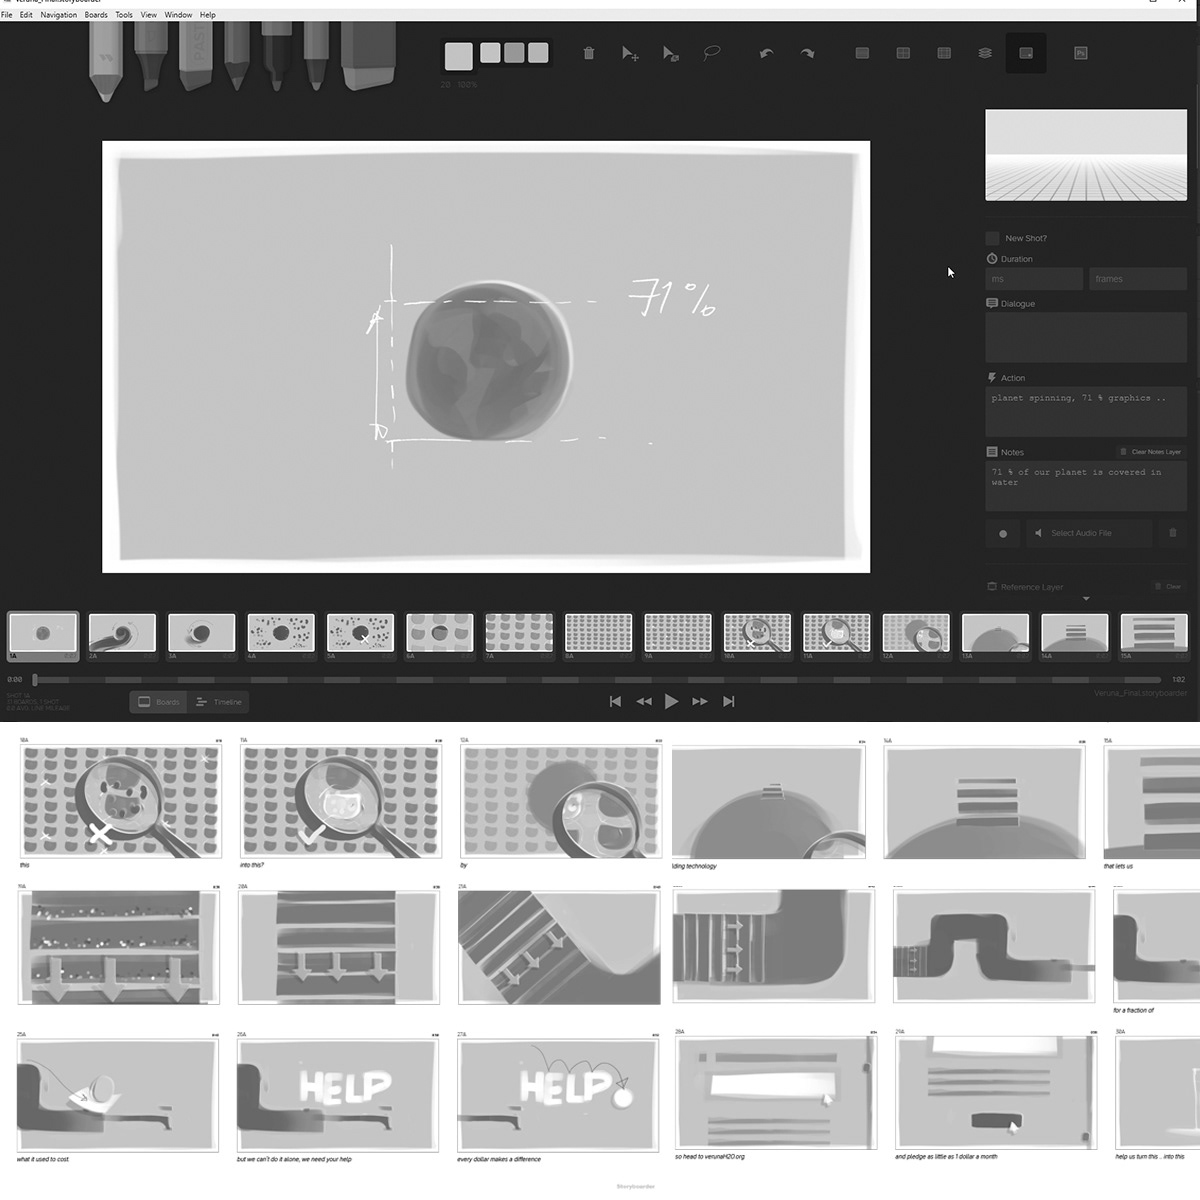
Animatic
= storyboard frames in a ´slideshow´ .. roughly synced with a voiceover / (my own) scratch-VO only ..
(btw. fitting the entire script into 30 seconds was quite a challenge, for someone only speaking limited /textbook-learnt/ English .. Tried to do my best :) .. /with a bit of audio-editing help tho ..
Even though both Storyboard and Animatic look pretty rough and primitive (and they are, indeed) - a lot of work (and decision making) has already been put into it, at this stage, actually.
To be able to present this first rough version of a ´future´ (possible look of an) explainer to the client - in some very simplified/basic, but yet ´understandable´ form - the designer/animator actually already has to have made many decisions about many different aspects, beforehand, production-wise - concept idea(s) and overal approach / assets to be created / storytelling ´flow´ / camera(s) angles / transitions / overall pace / level of complexity, etc.
Some clients might tend to skip this stage .. but - storyboard/animatic can actually save a lot of headache (and time / money), later on, in production.
The more/better planning in this early stage - the easier the process, later on.

Visual development ..
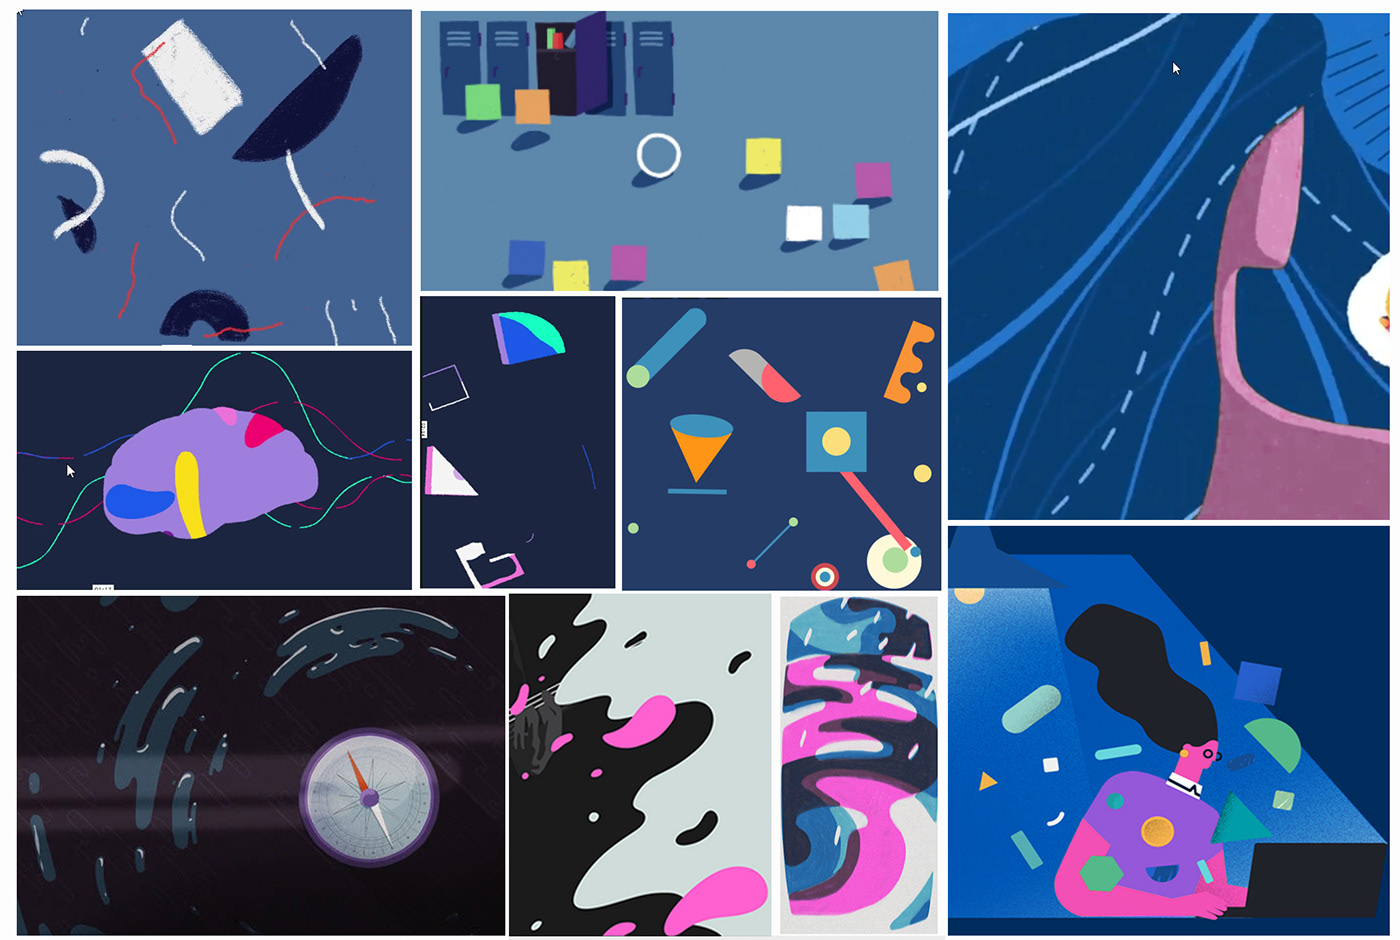
Moodboard
= a collection of existing/found visuals / textures / patterns etc. - serving as a ´visual guide´ for the client (as real visuals for the current project have not yet been designed, at this early stage) - to show /(roughly) ´establish´ possible ´look and feel´ - and/or visual direction the designer/animator is planning to go.
Sometimes the client brings in his/her own visual ideas and/or references, which is great .. sometimes not. In that case - it´s designer/animator´s role .. to communicate the concept (that´s only in designer´s mind, at this point) a bit more clearly / visually. Moodboard can help to communicate possible mood of a future project, even before design work stage has yet even started.
Look development / style definition / design ..
Before I ended up at the style I used for the final - I was also experimenting with some more - possible - looks .. playing around with both abstract geometric and/or loose painterly feel to it ..
Decided for ´something in between´, in the end.


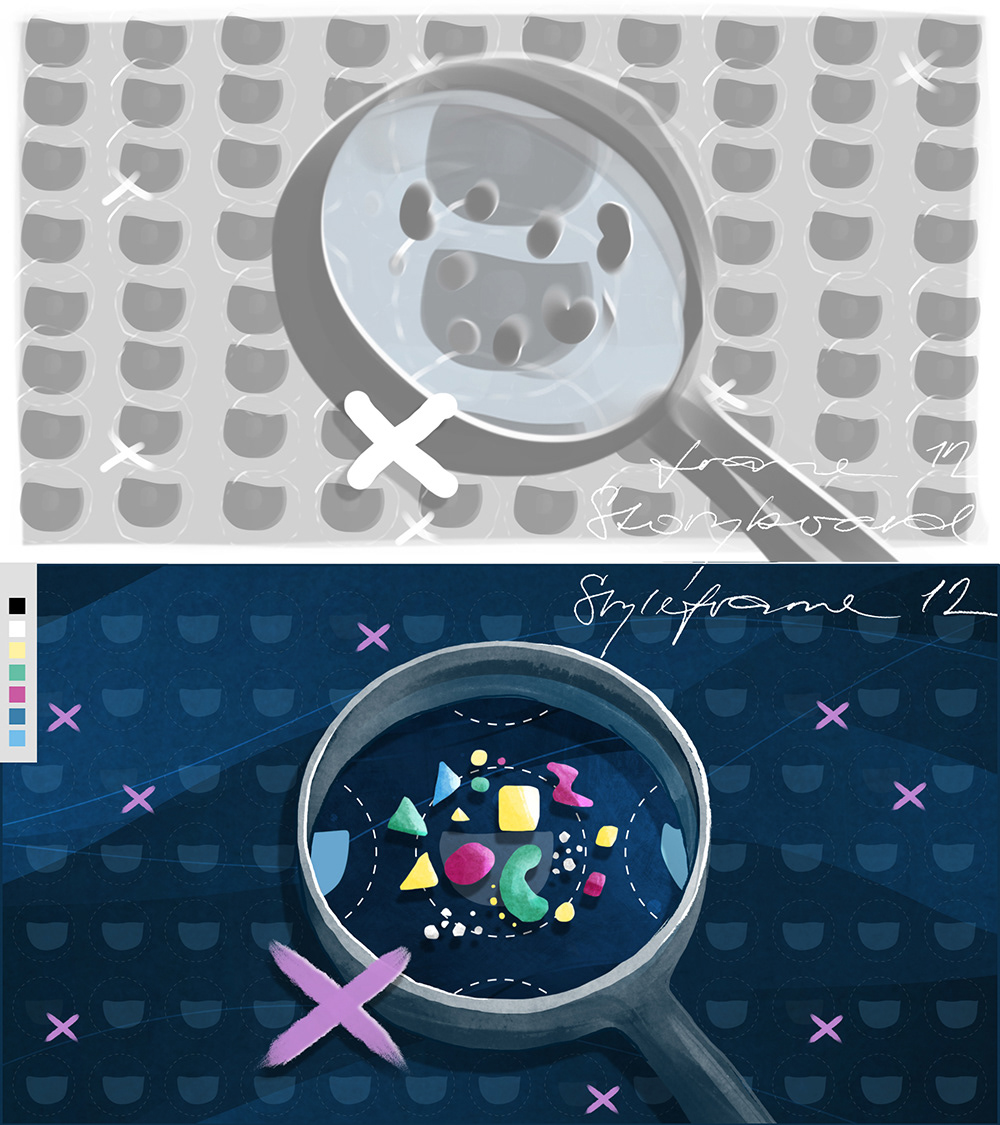
Camera motion / zoom-in shots planning ..


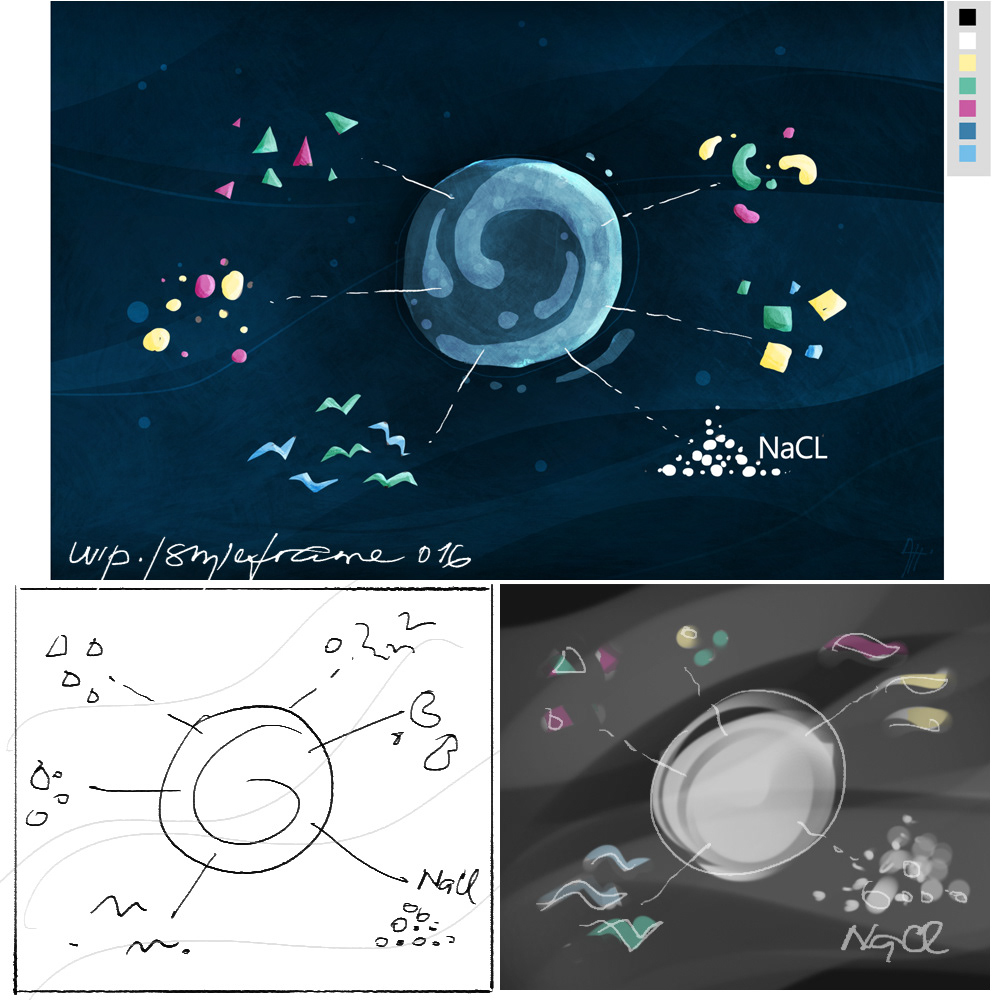
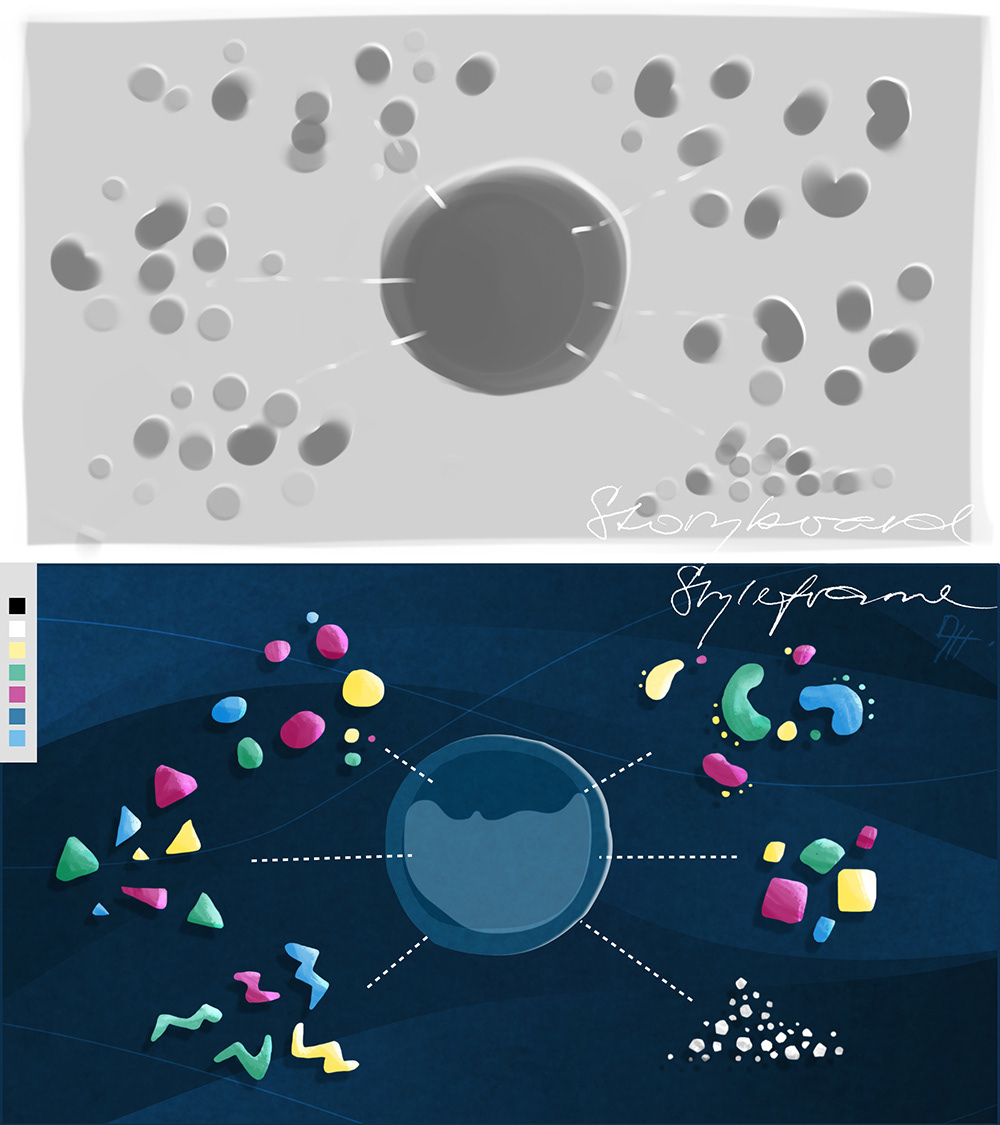
Styleframe(s) .. (vs. storyboard frame comparison)

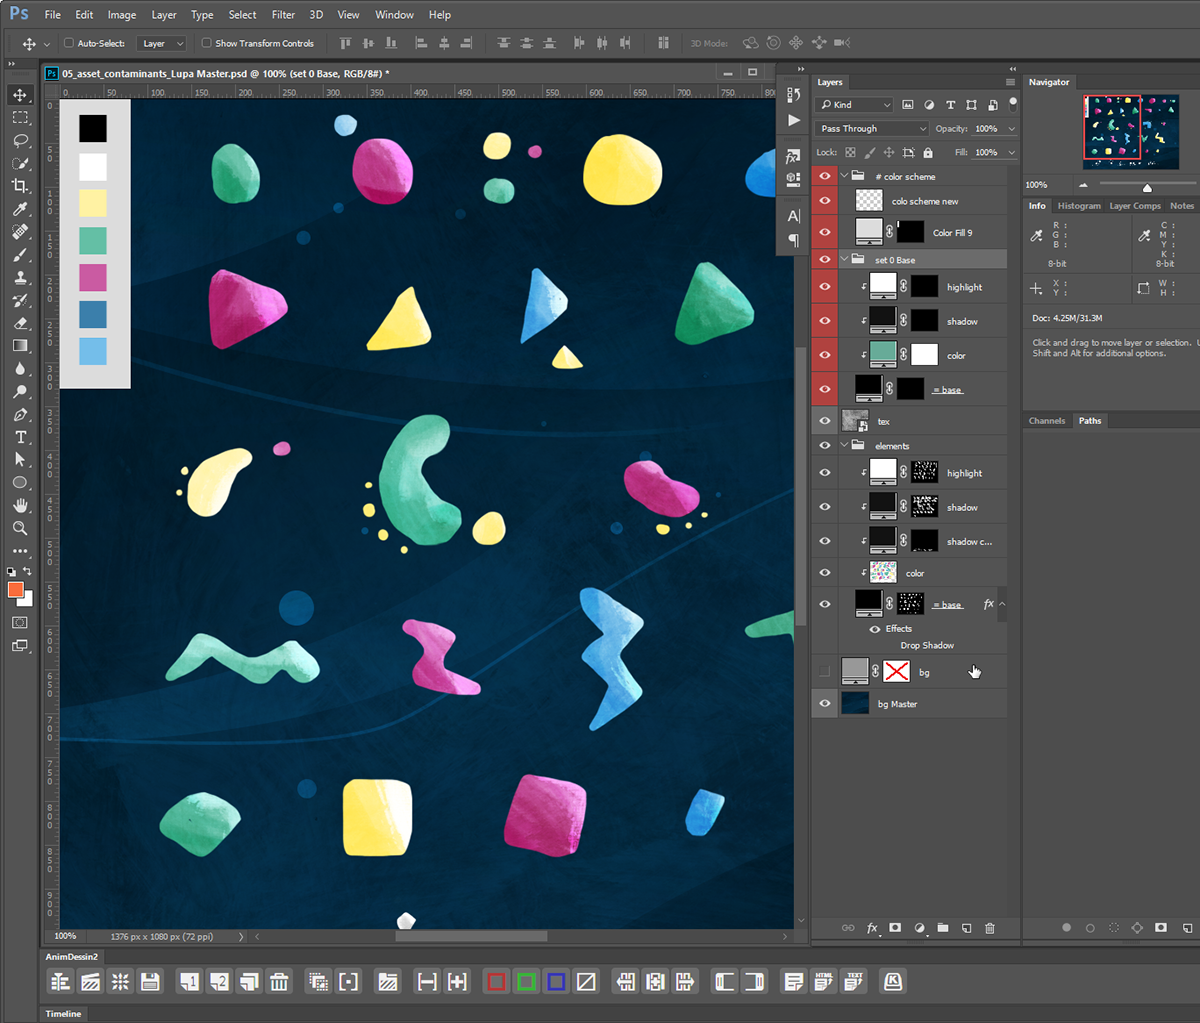
Asset creation (Photoshop)
& optimizing for AE animation ..
Making it move ... finally
Some testing first /
(Simplified/no optical distortions) ´magnifying effect´ / animation test
Earth .. 2D AE comp ..
built using a few textures and CC Sphere FX for ´wrapping it around a sphere ..
built using a few textures and CC Sphere FX for ´wrapping it around a sphere ..
´Help´ word / Animate CC vs. AE
AE animation ..
Liquid motion .. frame by frame / Animate CC
Final transition / liquid motion again .. (it´s all about water after all .. )
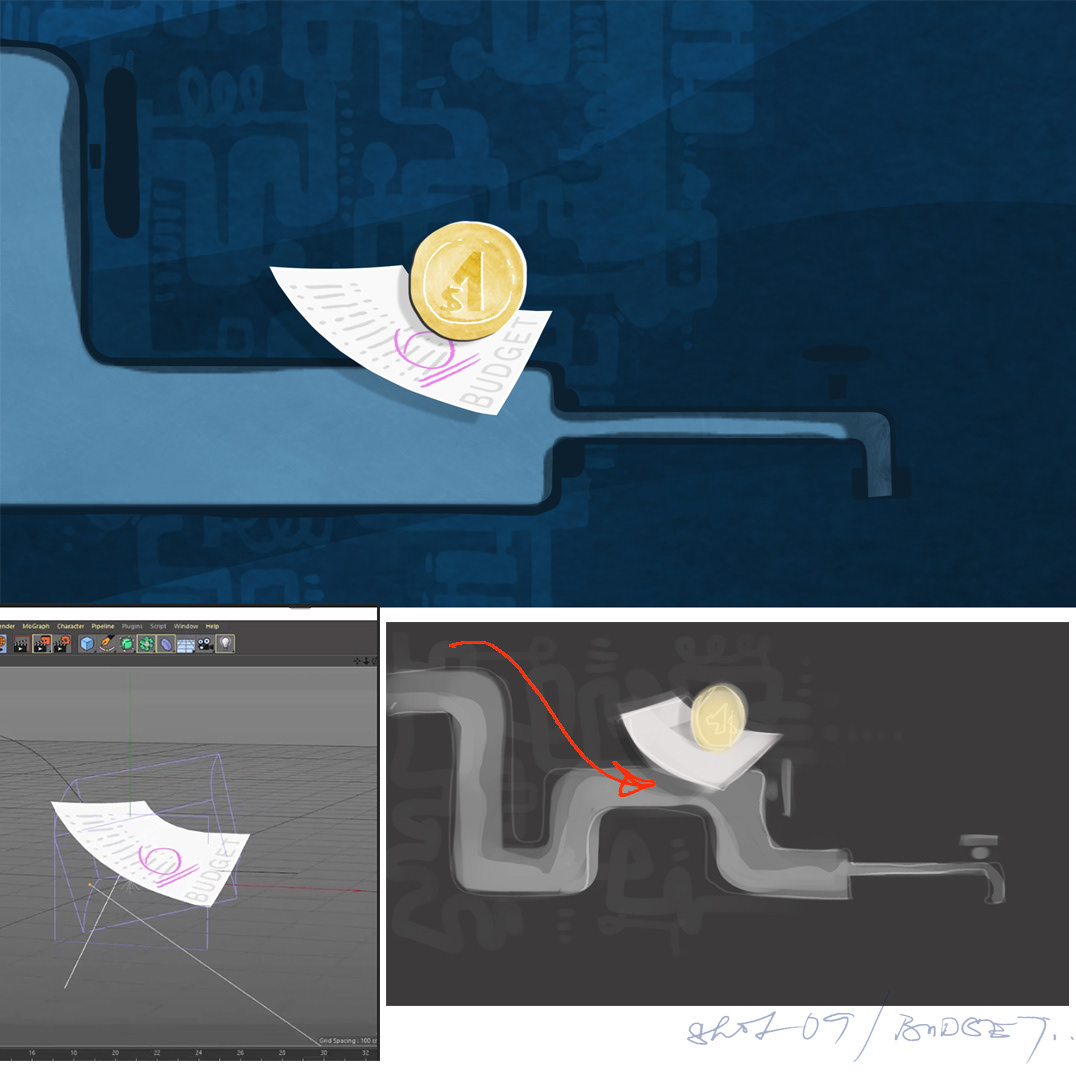
´Bouncing Dollar coin´ animation process .. / After Effects
but .. sometimes animating in 3D / Cinema 4d is simply easier and quicker .. even for 2D :)
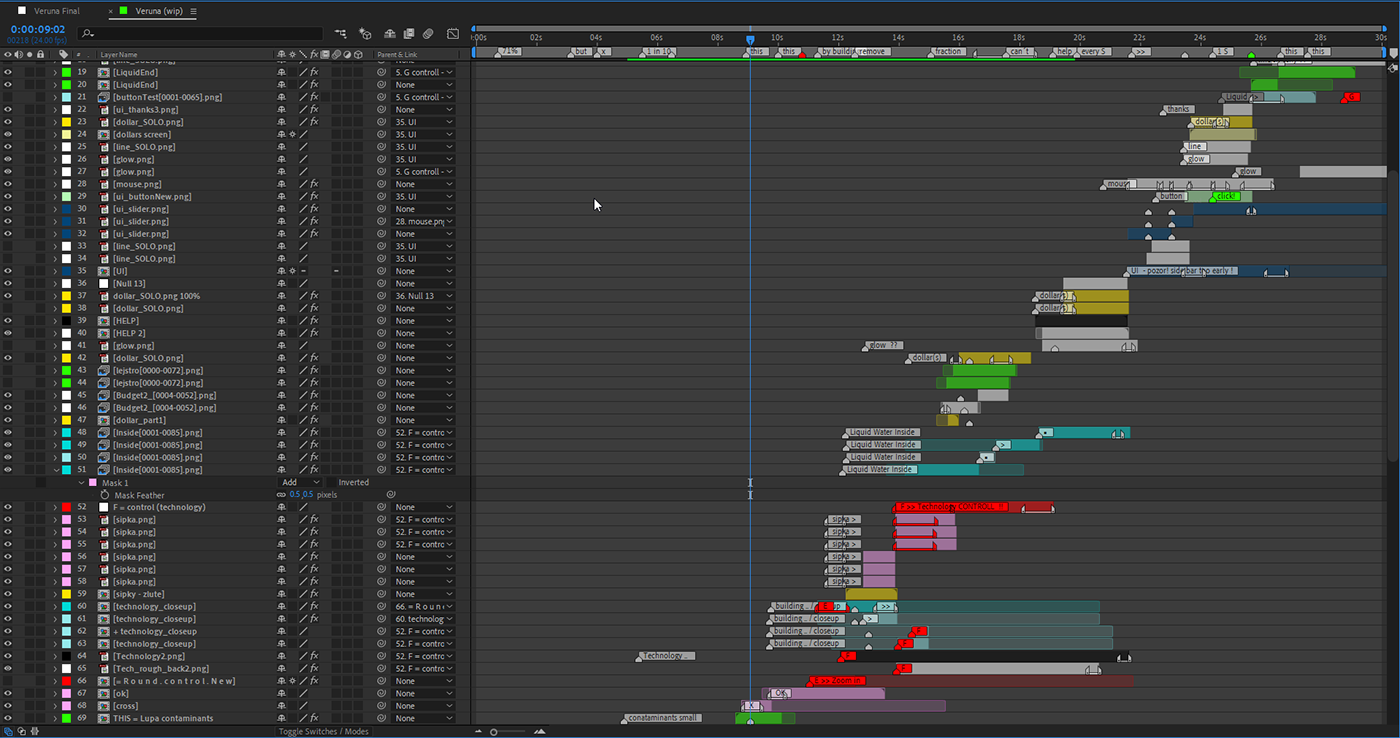
Putting it all together .. in After Effects

Storyboard frame(s) vs. Final
comparison
comparison
..
About the course
Among other School of Motion courses (I´ve taken a few, before) - Explainer Camp is a ´special one´, kind of ..
Unlike with other courses - that mainly specialize on teaching a specific motion design skill/ skillset, one by one - this course´s approach is more ´general´ - students are expected to already know how to design, animate, etc. (at least at some ´practical´ level) - to be able to work ´on their own´, more or less, from the very first lesson on .. while having a lot of creative freedom -
for creating their own version of an explainer (3 different briefs offered to pick from).
Starting from basic concept idea (touching also some basic business /budget and treatment decision-making, as a necessary part of these ´real-world´ projects while negotiating with a client) - through all the creative workflow stages (storyboard, visual development, asset creation, sound editing/mixing etc. ) to final animation.
All completely under their own art direction, from start to finish.
With a great guidance of Jake Bartlett tho :) .. as students can follow him - step by step - doing (and explaining his approach of) his own (different brief) version of an explainer.
From start to finish, too.
Feels almost like ´watching over someone´s shoulder´, and works nicely.
Some nice workflow tips throughout the course, lots of valuable insights and/or sound editing/mixing basics might come in handy, definitely, too.
Personally (due to lack of /limited time available) I couldn´t follow the course along, at the time the session was running - and neither could use the advantage of TA´s feedback (that seemed to be great, from what I could see while lurking in the course locker and/or FB group, provided by Van Velvet TA) ..
so I worked ´on my own´ - in my own pace ..
But still managed to watch every single lesson .. and loved all of them.
And - even though my own design process and methods (illustration / Photoshop / asset creation-wise) are a bit different,
within my own design workflows - it was definitely worth - and interesting - to have a chance to watch Jake working.
Enjoyed every single lesson.